This year’s Olympics are now in full swing and it’s all eyes on the athletes.
From archery and shooting to athletics and gymnastics, there’s all kind of sports taking place across Paris, France, at the moment.
One fan-favorite sport to watch is the swimming, and this year there’s a whopping 854 athletes from 187 different countries competing.
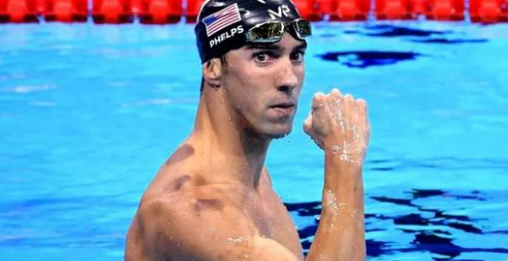
But there’s a common theme you might have spotted with some of the swimmers and that’s the unusual dark red circles they have on their backs.
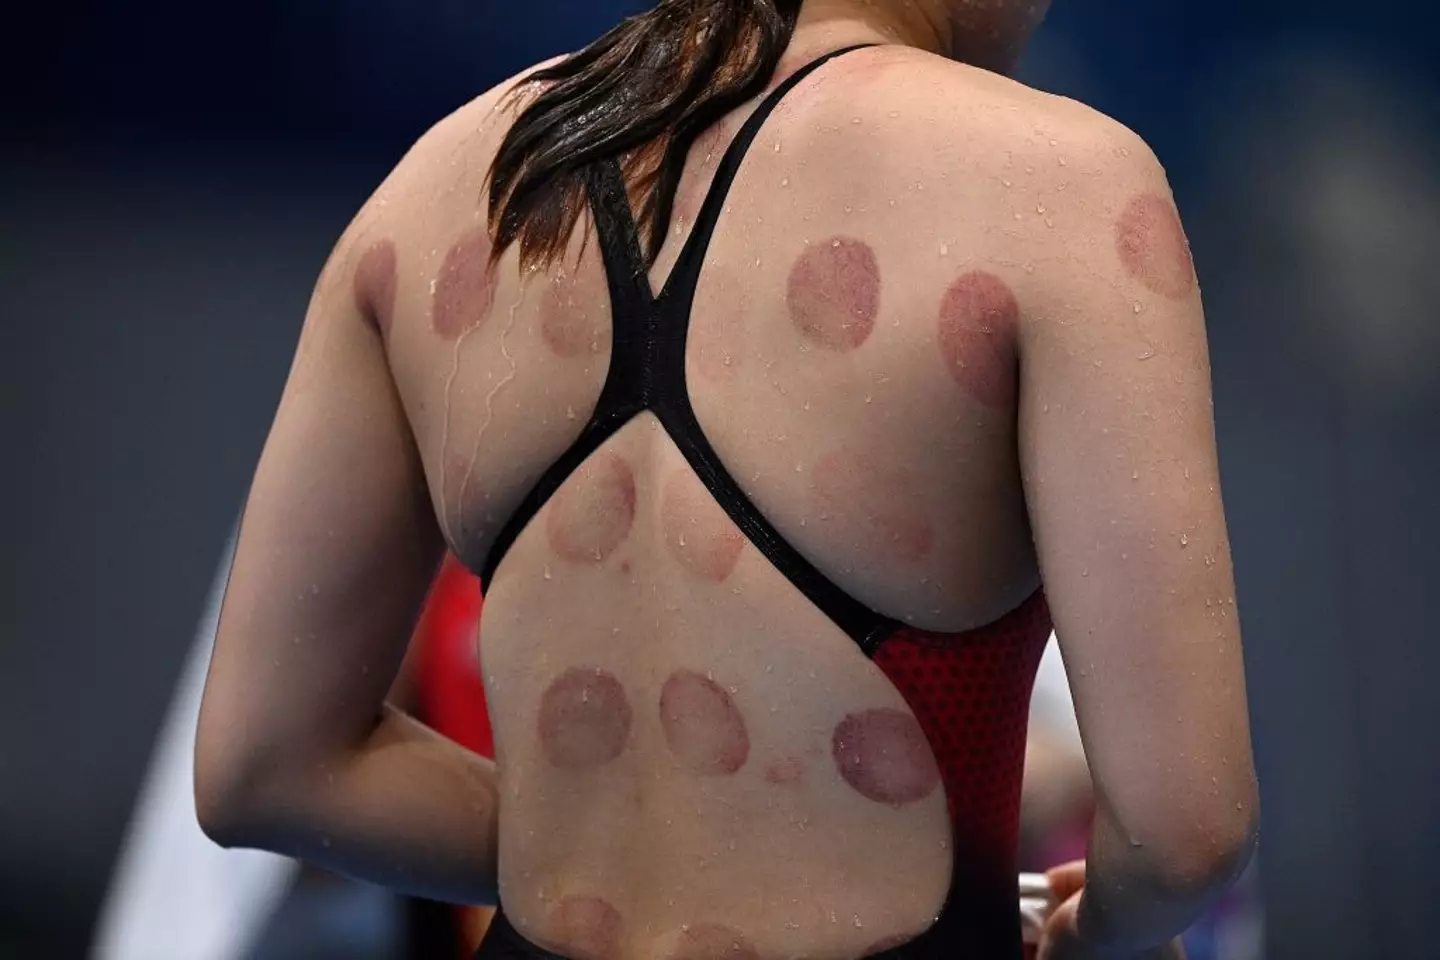
While it might look like they’ve had a fight with an octopus and lost, there’s a very different reason for the odd markings.
It turns out that the large spots are from cupping therapy – an ancient healing technique that involves placing cups on the skin to create suction and increase blood flow to the area.
The unconventional method is supposed to help with muscle recovery and is used as a type of deep tissue massage.
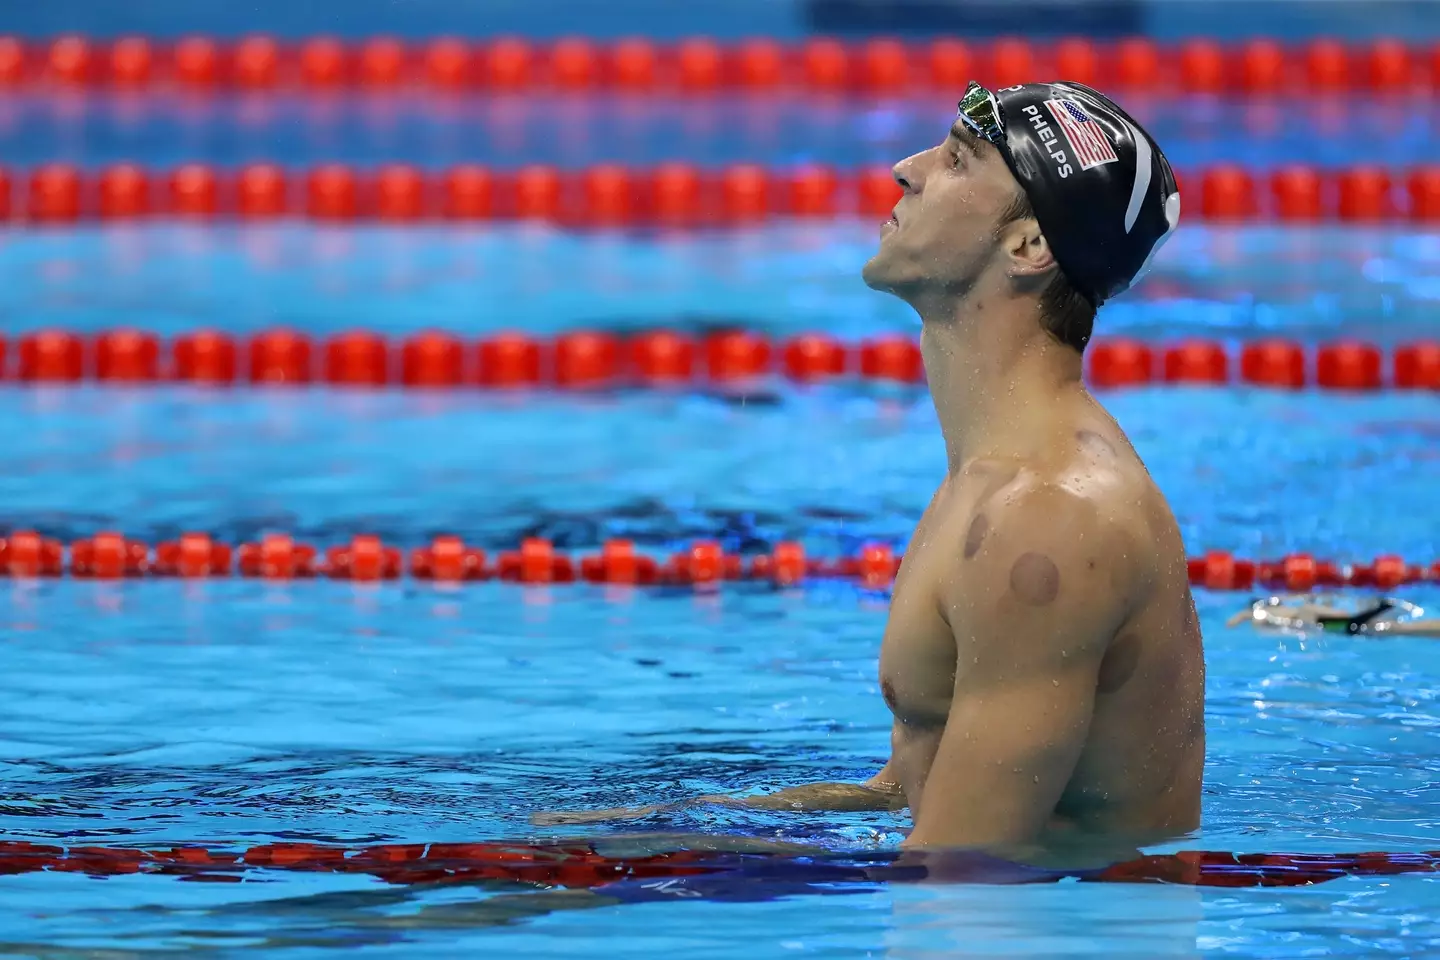
Some athletes were spotted with cupping therapy bruises back at the Rio Olympics in 2016, and it’s still seemingly popular now.
Gymnast Alexander Naddour told USA Today back in 2016 that cupping was supposedly the ‘secret’ to his health.
He added: “It’s been better than any money I’ve spent on anything else.”
Away from the Games, basketball player Kyle Singler has also praised cupping therapy.
“The bruises do look more intense than what they actually feel like, but the benefit from it is really great,” he previously insisted.
Singler continued to tell Sports Illustrated: “You’re not necessarily getting the immediate response that you might want but over time it does help with recovery and loosening tissue and stuff like that.”
But does cupping therapy actually work according to experts? It’s seems as if the jury’s still out.
According to Harvard Health, some studies have found that cupping might provide some relief for a number of musculoskeletal and sports-related conditions. The quality of this evidence was ‘limited’, however.
Elsewhere a 2022 review found that wet (as opposed to dry cupping) was effective for lower back pain.
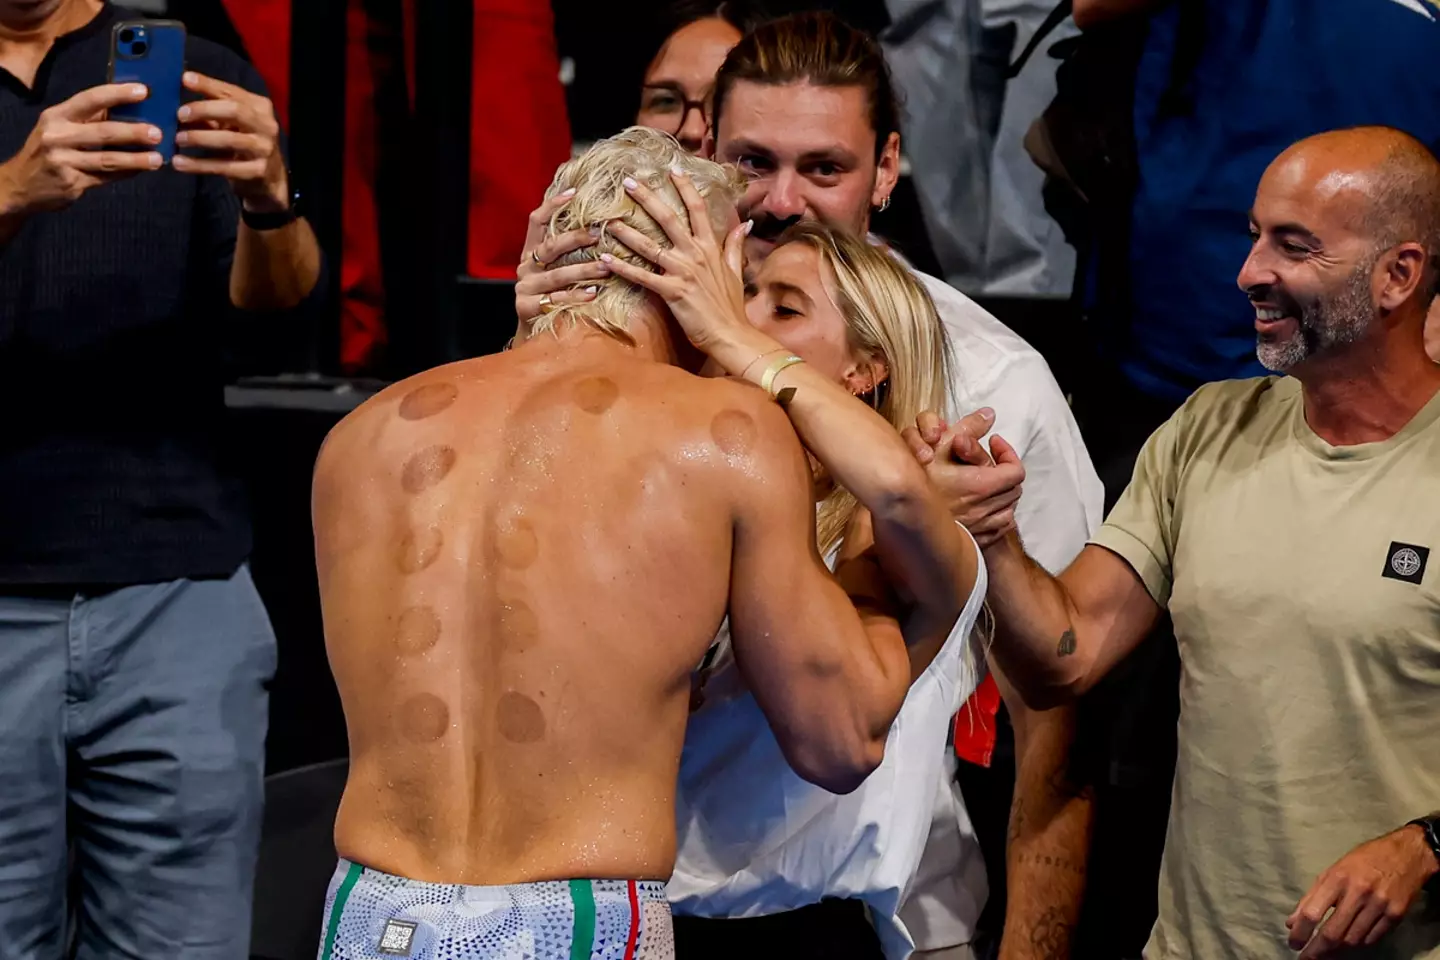
While the bruises people get from cupping are pretty gnarly, the therapy is generally seen as safe to practice – even if people aren’t 100 percent on how affective it is.
“Most experts agree that cupping is safe. As long as those treated don’t mind the circular discolorations (which fade over a number of days or weeks), side effects tend to be limited to the pinch experienced during skin suction,” Harvard Health explains.
“It’s quite unusual that cupping causes any serious problems (though, rarely, skin infections have been reported).”
There you have it, folks.
“The Gothic couple then and now!” This is what happened to the unusual bride and groom years later
A few years ago, the Internet was talking about a remarkable and unconventional couple who were one of the most unusual newlyweds with their unique looks and style. The couple’s wedding photos spread like wildfire online and caught the attention of many.
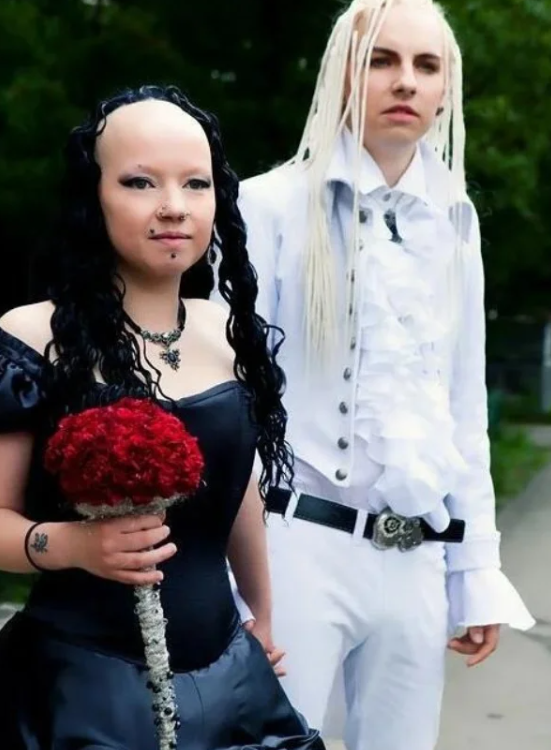
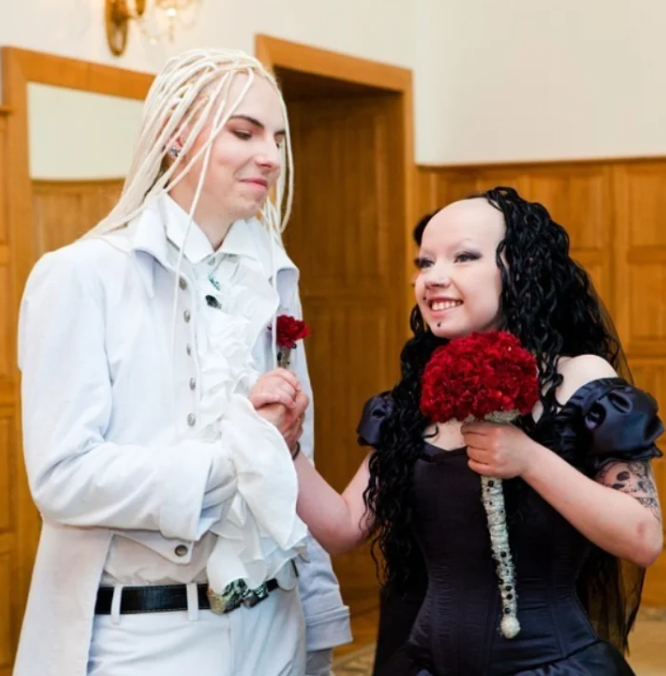
Their informal style and unconventional approach to the wedding, in which the bride appeared with pale, white skin, half-bald, piercings and a black wedding dress, while the groom appeared in white with long, snow-white hair, caused a lot of interest and discussion.
However, in recent years they have changed drastically and even started a family. The transformation they have undergone is remarkable: the bride has become an elegant woman with blonde hair, while the groom still wears his long hair but has developed a mature look over the years.

Their current family photos have touched the hearts of viewers and many online have commented in amazement: “How much they have changed!”, “Hardly recognizable!”, “Time has left its mark”, “An amazing transformation!”.

The story of this unlikely couple is a powerful example of how people can grow and change over time, and how their love and family carry them through these changes.


Leave a Reply